The sheer convenience of working from home has turned me into a biriyani maker to my own surprise. It is happening mainly due to the fact that I can make a plan and prepare fried onions and raita ahead of time. Planning is more organized because of weekly online grocery shopping where I am sure of what we can have that week. So just add chicken, beef or lamb to the list, then tomatoes, cilantro and mint and you are pretty much set so long as you have biriyani rice, cashew nuts and raisins in stock. H always signs on to make papads which is one less worry. My dwarf lime tree has yielded enough for a year and the limes are preserved through freezing or simple refrigeration which covers for any lime needs. Same story with the curry leaf plant. There is always a container or two of yogurt and enough eggs in the house to round it out.
Not sure if I'd ever tried making fish biriyani before but now that it is done, there is no looking back. Absence of daily commute is essential for this activity as otherwise a quick trip to the Indian grocery store for frozen king fish (neymeen) may not happen at all. The main advantage of this fish is a single round bone in the middle which is easily discarded. A fact that was quite agreeable to my bone weary son who likes biriyanis in general. Molu seemed reluctant to fight with the fish at all but I am sure she will come around. Chicken is her goto for biriyani.
Elements of most biriyanis are the same but the protein here being fish, I didn't resort to my trusted Instapot this time. Alas, not much was lost and the final product more than made up for the sad omission of this trusted utensil. On top of recently acquired biriyani knowhow, I also referred to this vlog from salukitchen. There is a quite efficiency in this smart lady's no-nonsense yet tasty, gourmet quality and flavorful recipes with which she sustains her five person family on a regular basis. A feat not easily achieved even if one tried. Without Doordash to fill in the gaps, I am sure to be a nervous wreck by the end of the pandemic stay at home period where the distinction between work and home gets blurrier by the day. Simply closing the laptop just is not enough separation anymore I tell ya. Ok, 'nough rambling for now and let us go to our recipe for the day and see where that takes us.
In The Mix
red onions - 4 big (2 for masala, 1 for seasoning)
olive oil - enough to coat
salt to taste
cashews and raisins - a handful each for seasoning
king fish - 5 or 6 large disc like fleshy pieces with skin on to hold shape
turmeric powder - 1 1/2 tsp
kashmiri chili powder - 5 tsp or as needed
garam masala - 3 tsp
crushed black pepper - 11/2 tsp
salt to taste
basmati rice - 6 cups
water - 7 cups
cinnamon - 2 small pieces
bay leaf - 1 or 2 small
cardamom - 4
cloves - 3
olive oil - 1 tbsp
salt to taste
cinnamon - 2 thin 1.5" pieces
cardamom - 2
bay leaf - 1 or 2 small
cloves - 2 or 3
ginger-garlic paste - 3 tsp
tomatoes - 3 medium or 2 large chopped
yogurt - 2 tbsp
coriander - 1/2 tsp
curry leaves - 1 or 2 sprigs
lime juice - from 1/2 a lime
salt to taste
cilantro - a bunch, chopped
mint - 1/2 a bunch chopped
olive oil - as needed
How To Do
Make ahead steps:
Make
raita and refrigerate. Fry papads and keep in an airtight container. Air fry 3 sliced onions tossed with oil, salt at 390 for 6-8 min on each side. Remove 2 onions worth and fry remaining onions for 2 min on each at 390 or till golden.
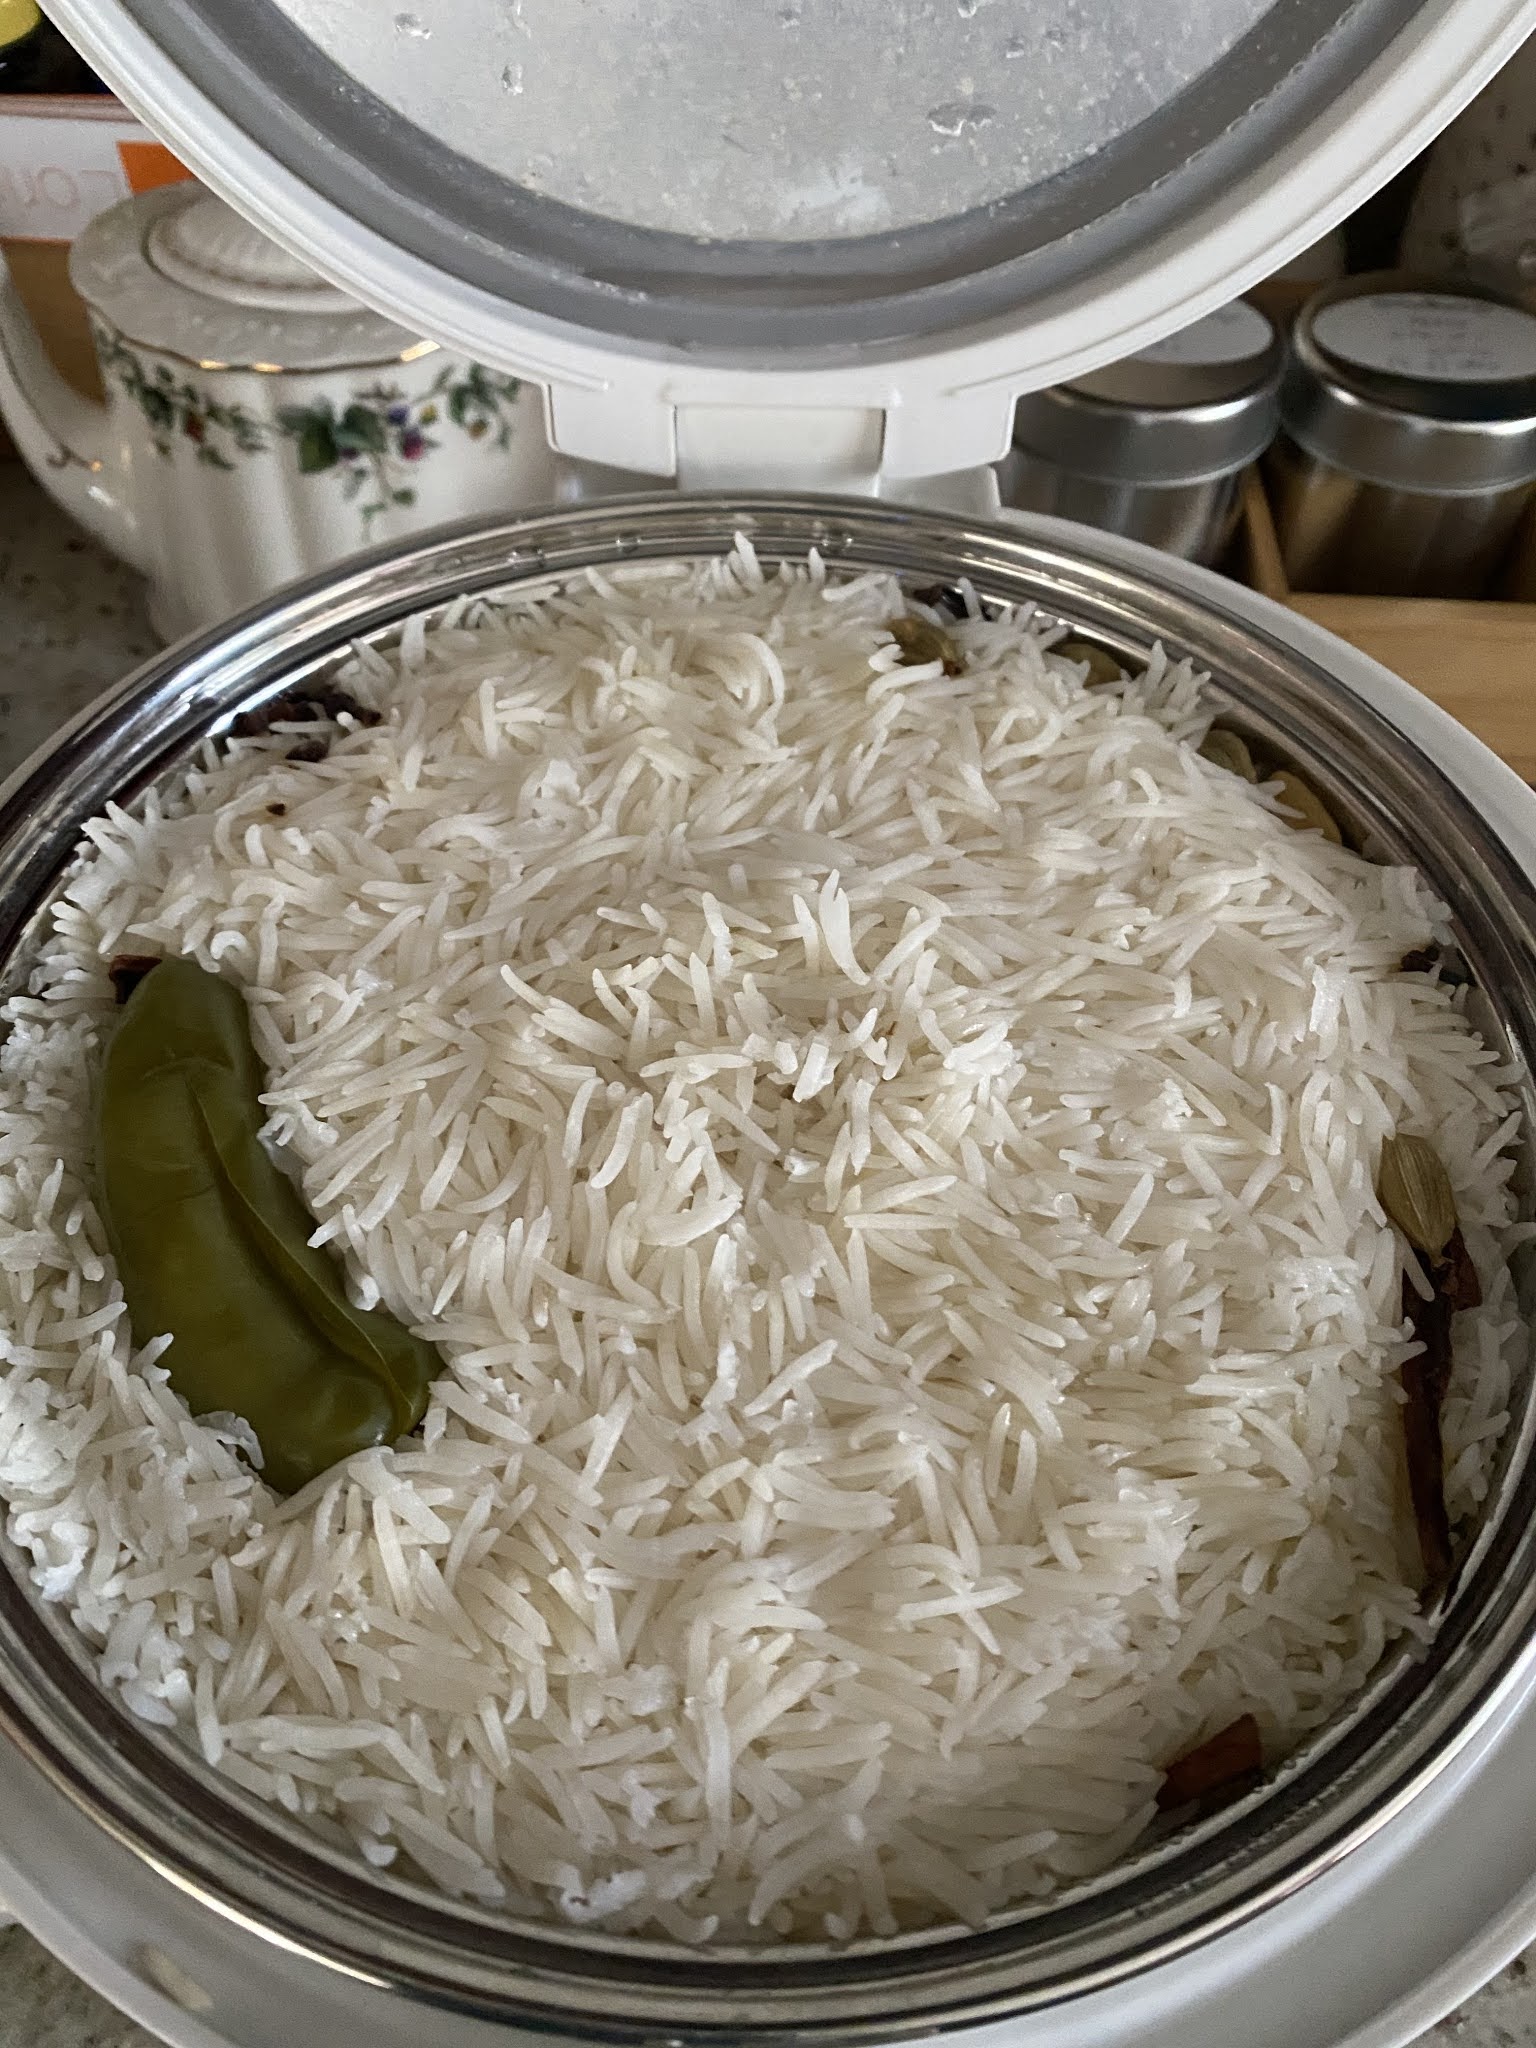
Wash and drain the rice and add to rice cooker along with water. Add all italicized ingredients under rice to this, stir gently mainly to mix in the salt and cook as usual. The outcome is always perfectly cooked biriyani rice.
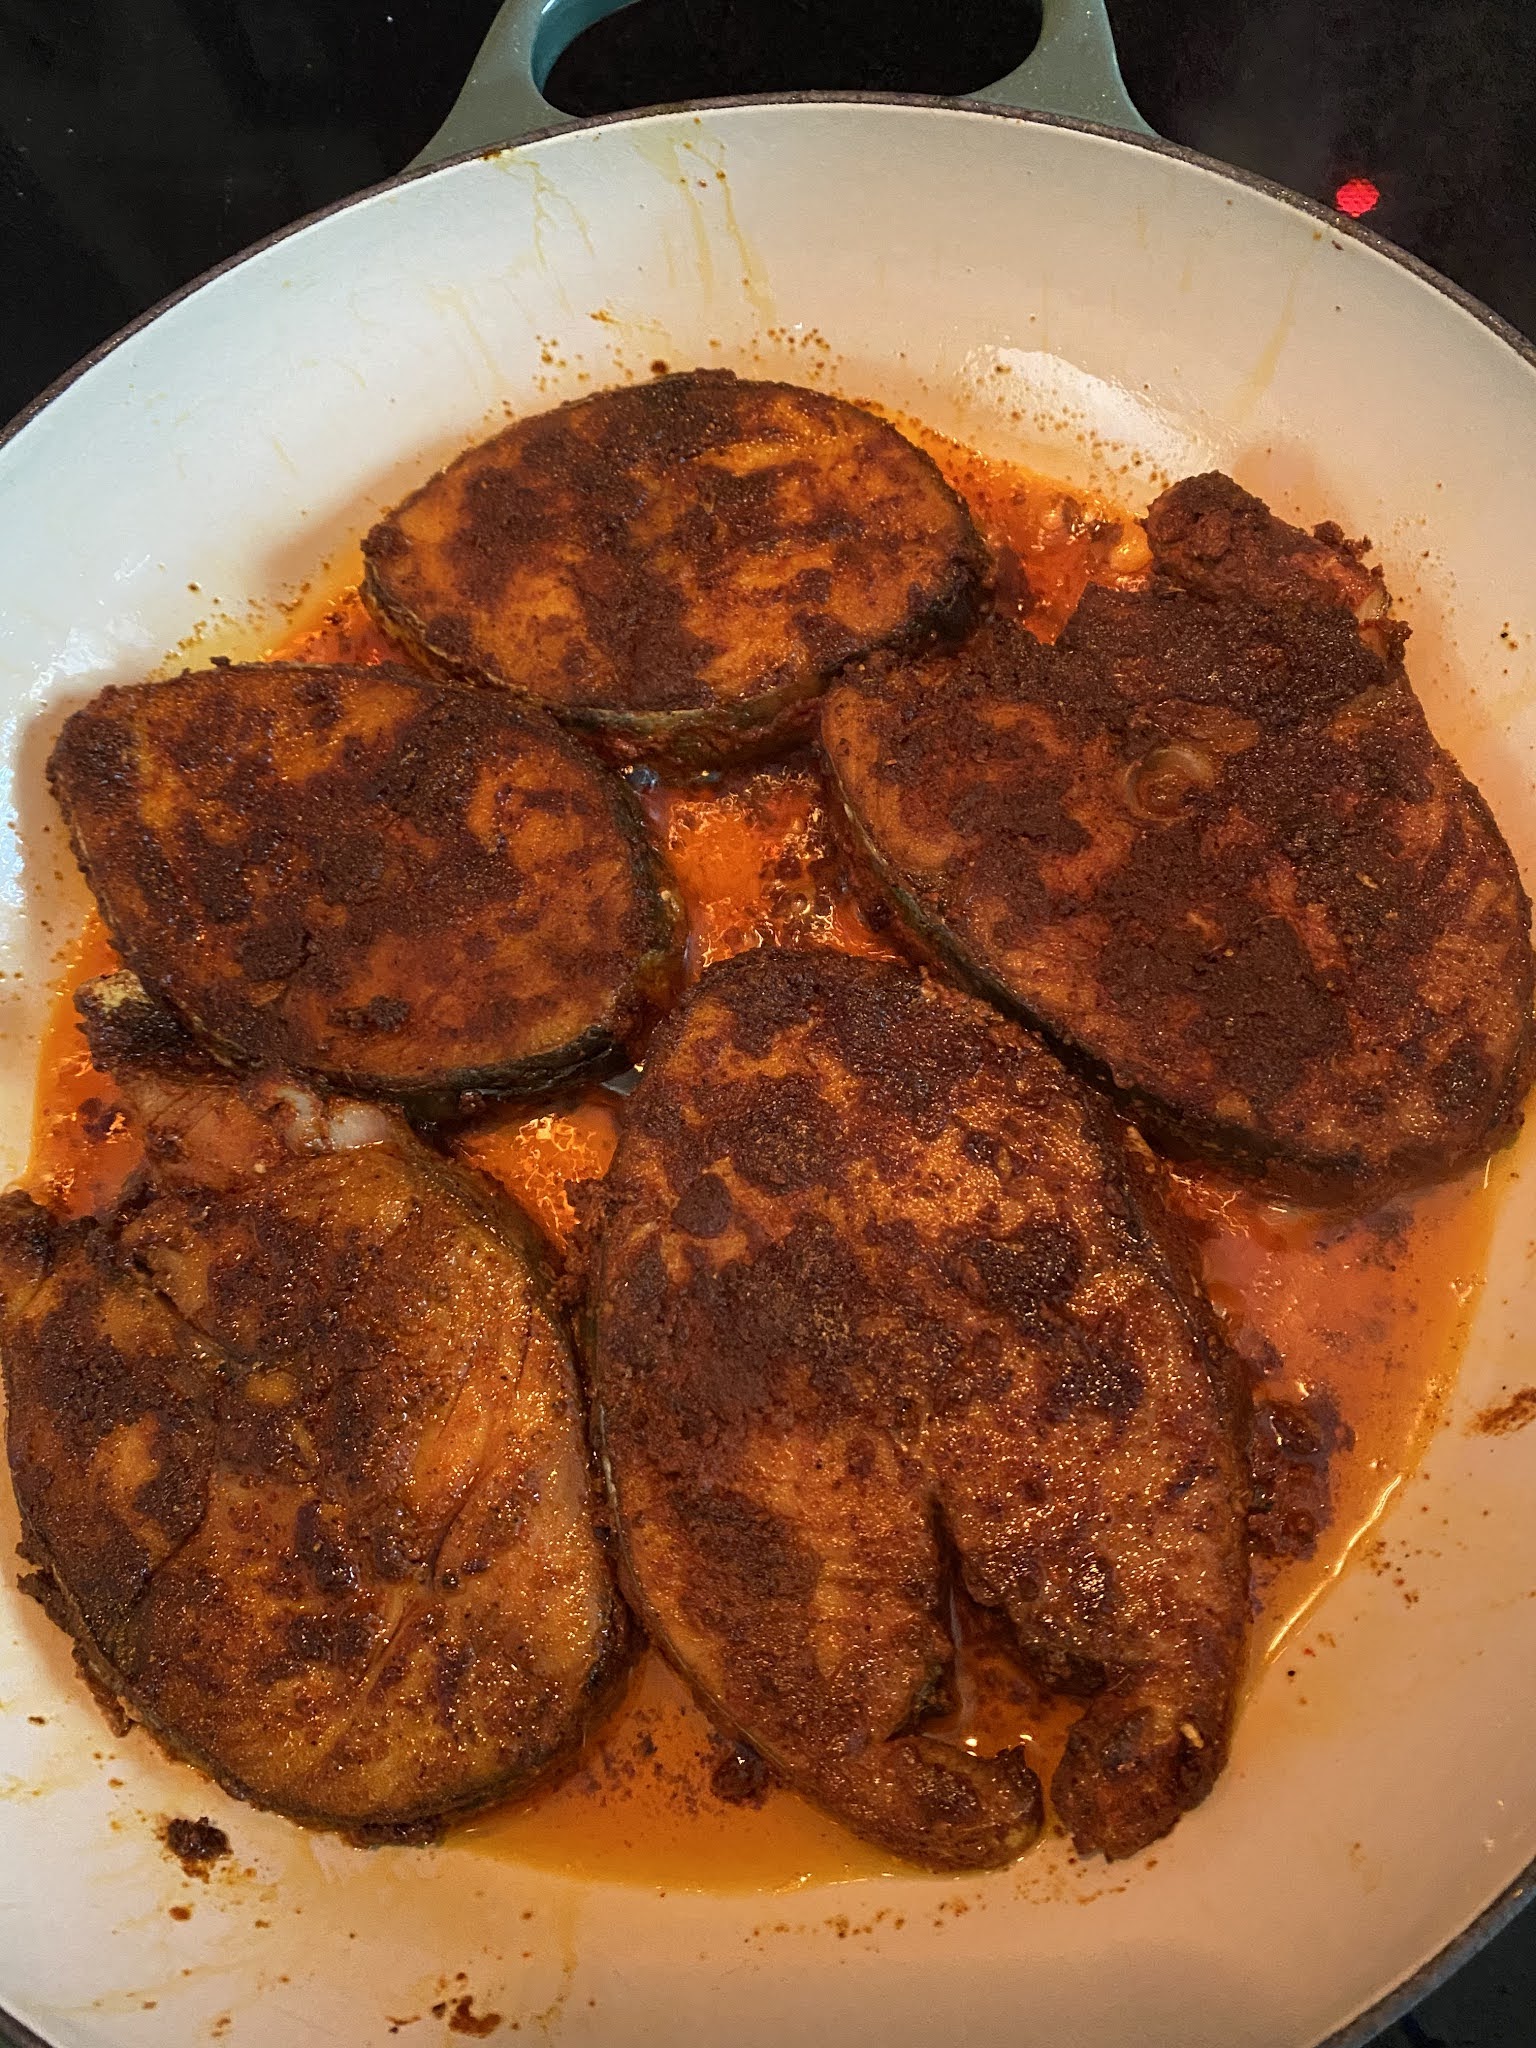
Mix all italicized ingredients under fish and use 1/2 of it to marinate the thawed fish. Make sure not to use extra water as there is enough water in the fish itself. Set to marinate overnight or for at least 15 minutes outside.
Preheat to 300C if using oven for baking.
Heat oil in a flat pan and fry cashews and onions and set aside. Keep pan on low heat especially if using a cast-iron pan as it distributes and holds the heat evenly.
Add more oil as needed and shallow fry fish pieces for 1-2 min on each side or until 75% cooked. Remove and set aside.
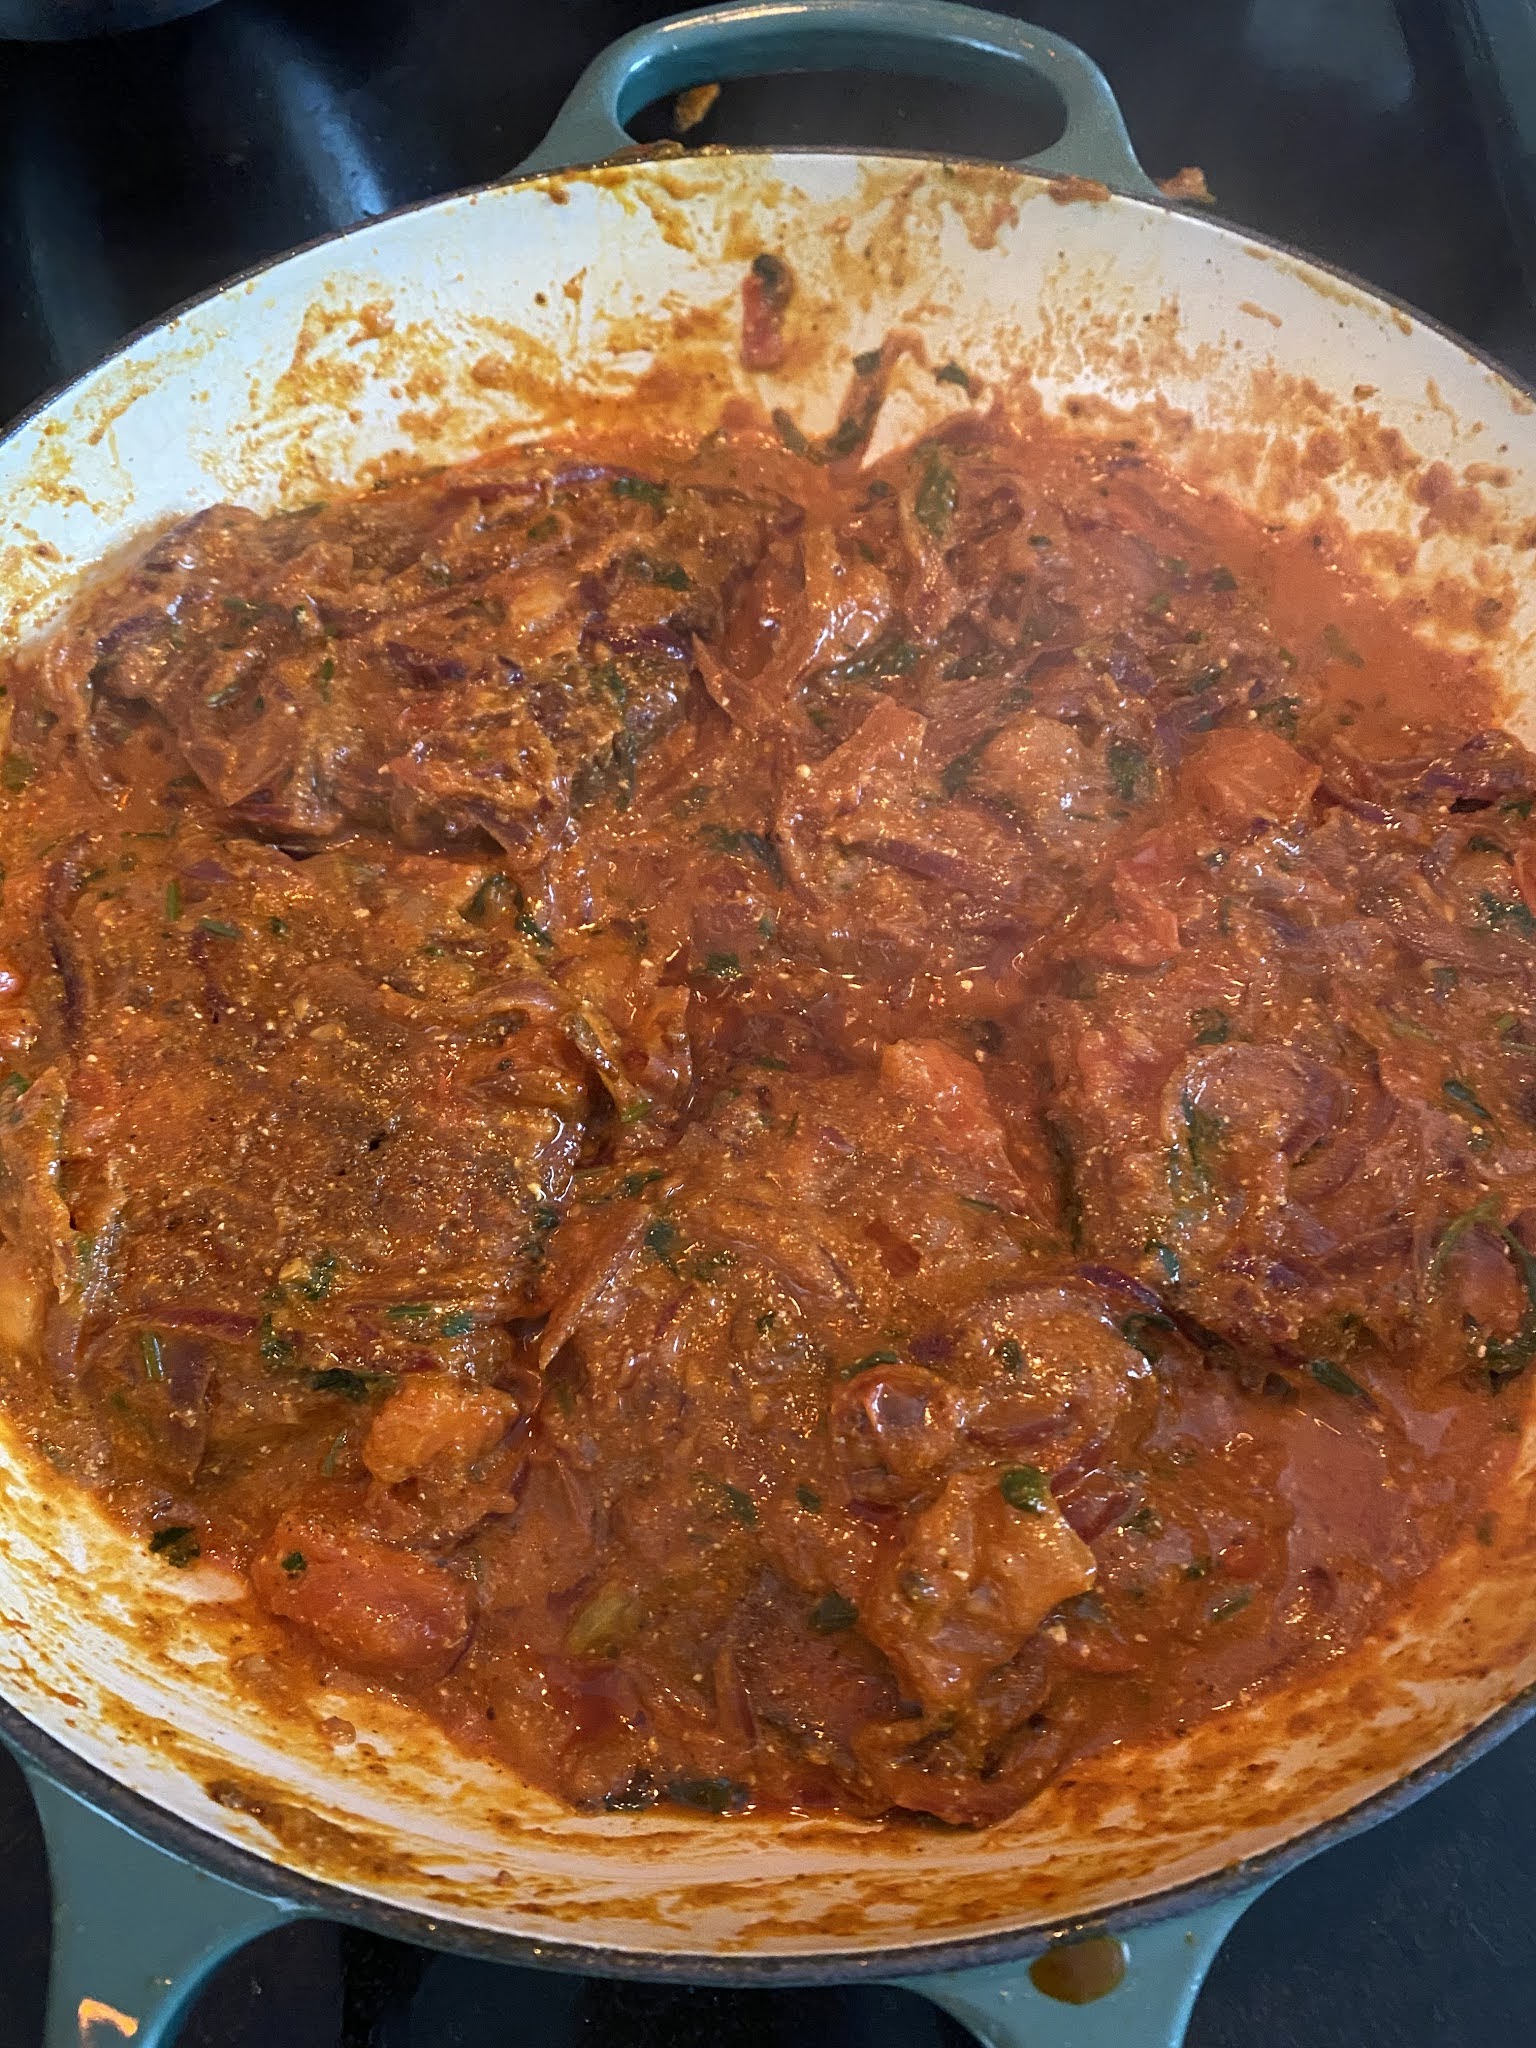
Add the second set of cinnamon, cardamom, bayleaf and cloves to the same oil and saute for 1-2 min. Add fried onions set aside for masala and mix well. Add curry leaves, ginger garlic paste, remaining half of mixed spice powders along with coriander powder and saute all together till aroma rises in the air. Check salt and add as needed.
Add chopped tomatoes, saute for 2-3 min, add 1/4 cup cilantro, 2 tbsp mint, yogurt and lime juice and stir well together for 3-4 min.
Now add the fish pieces one by one, making sure to cover each with enough masala. Cover and cook for 5 min on low heat.
For stove-top baking, remove all except some masala and one or two pieces of fish and layer with rice as given below. Cover and cook for 5-7 min and set aside to cool for 10 minutes.
For oven baking, slightly grease an oven safe dish with oil and layer bottom with some masala and one or two fish pieces. Then add the rice, sprinkled on top with golden onions, fried cashews, raisins, cilantro and mint. Add another layer of masala and fish and top with rice layer sprinkled with all the seasonings. Cover with aluminum foil and bake for 10 minutes at 300C.
Remove from oven and let cool for 10 min before serving with raita and papad. It behooves you to remember the location of fish pieces so the digging in won't break them before it gets on the plate. Yum.. I am drooling since all of it is just a memory now. Until next time..😋